- A Technical Breakdown of the Islander C5 Centerpin Reel
- Precision in Motion: A Detailed Look at Using the Kingpin Zodiac Centerpin
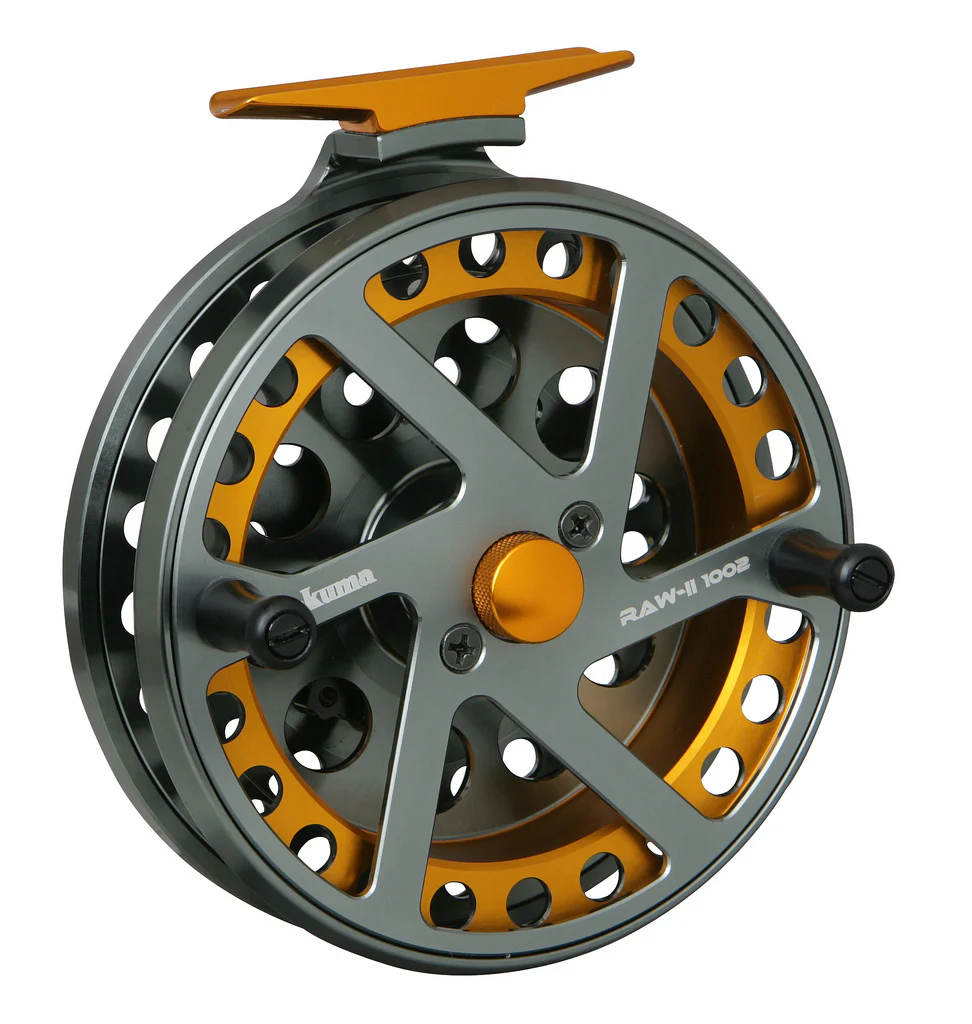
- The Modern Workhorse: A Detailed Guide to the Okuma Raw II Centerpin Reel
- The Art of the Drift: A Detailed Guide to Using the Islander Steelheader Centerpin Reel
In the world of river fishing, particularly for the steelhead and salmon of the Pacific Northwest, the centerpin reel represents the pinnacle of finesse and natural presentation. It is a tool of pure, unadulterated connection between the angler, the current, and the fish. Within this specialized niche, the Islander C5 has carved out a legendary status. Born from the demanding rivers of British Columbia, the C5 is not merely a fishing reel; it is a precision-engineered instrument, a masterclass in rotational dynamics where fanatical attention to detail creates an unparalleled fishing experience.
This article provides a highly technical deep dive into the materials, mechanics, and design philosophy that make the Islander C5 a benchmark for performance and durability.
I. The Core Principle: The Pursuit of Zero Friction
The singular goal of a high-performance centerpin reel is to allow its spool to start and maintain rotation with the absolute minimum amount of force, perfectly matching the speed of the river’s current. The entire design of the C5 revolves around achieving this state of near-zero friction.
- Bearing System: The heart of the C5 is its bearing system. It does not use simple bushings or generic bearings. Instead, it employs two high-precision, shielded ABEC 3 stainless steel ball bearings. The ABEC (Annular Bearing Engineers’ Committee) rating is a measure of the manufacturing tolerance of a bearing. While higher ratings exist, ABEC 3 represents a sweet spot of extremely low rolling resistance, durability, and real-world performance without the hypersensitivity of higher-rated ceramic bearings. The use of stainless steel ensures maximum corrosion resistance in the damp, often harsh river environment.
- Spindle and Housing: These high-grade bearings are mounted on a robust, centerless-ground, hardened stainless steel spindle. The precision of this spindle—its straightness and surface finish—is critical to performance. It is housed within a CNC-machined bore in the reel’s backplate, machined to tolerances measured in the ten-thousandths of an inch. This exact fit ensures perfect alignment, preventing any lateral play that could introduce friction and inhibit the spool’s inertia-free startup.
II. Rotational Dynamics: Spool and Frame Engineering
The physical construction of the C5 is a case study in balancing strength, weight, and rotational momentum.
- CNC Machining from Bar-Stock: The C5 is not cast from molten metal; it is sculpted. Each major component—the frame and the spool—is CNC (Computer Numerical Control) machined from a solid block of 6061-T6 aircraft-grade aluminum. This “bar-stock” method produces a final product with a much higher strength-to-weight ratio than casting, as it has a perfectly aligned grain structure with no internal voids or weaknesses.
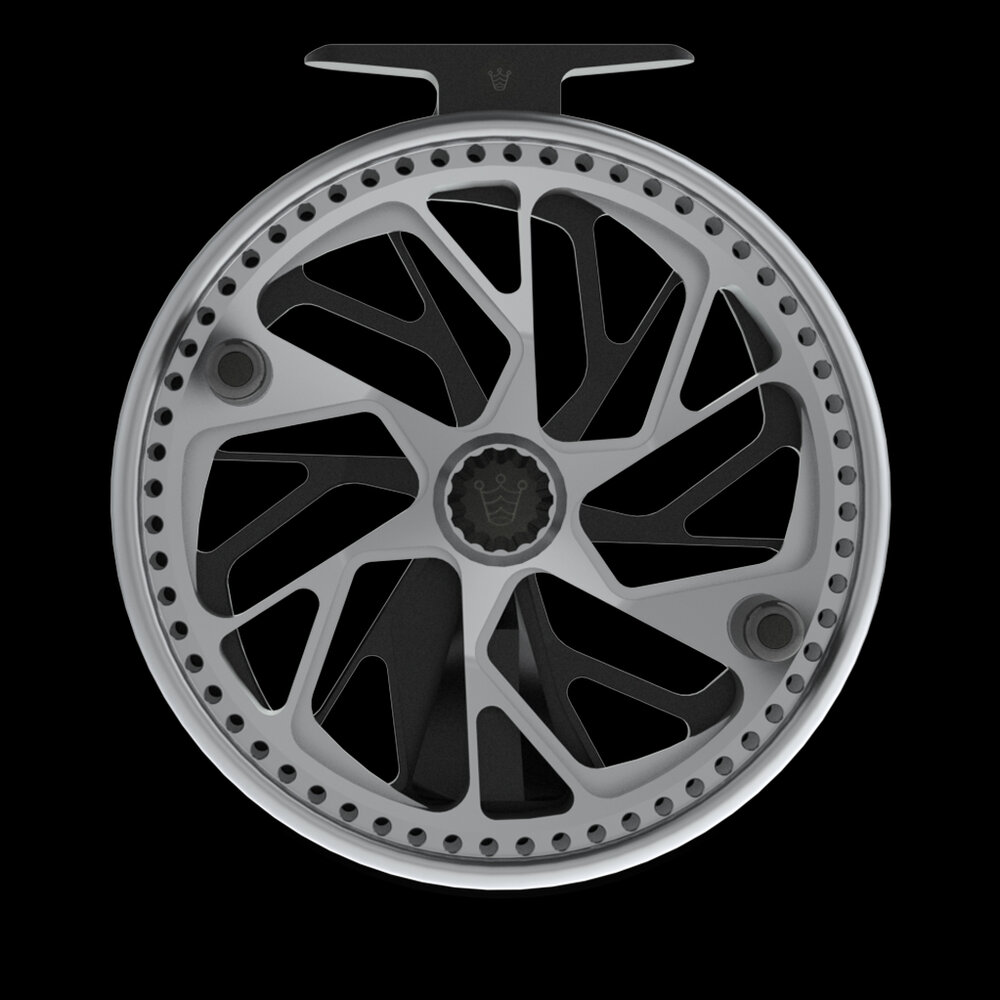
- Spool Design and Porting: The C5 features a large 5-inch diameter spool. This large circumference serves two purposes: it allows for a respectable rate of line retrieval with each manual rotation, and more importantly, it helps the spool generate and maintain momentum during a long, controlled drift. The intricate and extensive porting (the machined holes in the spool face) is not merely aesthetic. It is a calculated engineering choice to drastically reduce the spool’s overall weight and, critically, its rotational mass. Lower rotational mass means the spool requires less energy to begin moving, allowing it to be activated by the subtle pull of a small float in a slow current.
- Anodizing and Finish: To protect the precision-machined aluminum, Islander utilizes a Type II anodizing process. This is an electrochemical process that builds a controlled layer of aluminum oxide on the surface. Unlike paint, this finish is integral to the metal itself. It provides exceptional corrosion resistance against water and oxidation, and significantly increases the surface hardness to resist scratches and dings, preserving the reel’s function and beauty for decades.
III. The Angler Interface: Control and Ergonomics
A centerpin reel has no drag system in the conventional sense. The angler’s hand is the drag. The C5 is designed to make this interface as intuitive and effective as possible.
- Exposed, Contoured Rim: The most prominent feature of the spool is its wide, exposed rim. This is the primary control surface. An angler applies gentle thumb or finger pressure to this rim to feather the spool, slowing it down to control the speed of the drift or applying significant pressure to act as a brake when fighting a powerful fish. The rim is perfectly smooth and contoured for comfortable, precise modulation of pressure.
- The Clicker Mechanism: The C5 features a simple, robust on/off clicker. It is crucial to understand that this is not a fishing drag. Its sole purpose is to prevent the free-spinning spool from over-running and creating a backlash when walking from one spot to another or during transport. It consists of a simple metal pawl that engages with a toothed gear on the inside of the spool, creating an audible click and providing just enough resistance to prevent unwanted rotation. When fishing, this is always switched to the “off” position.
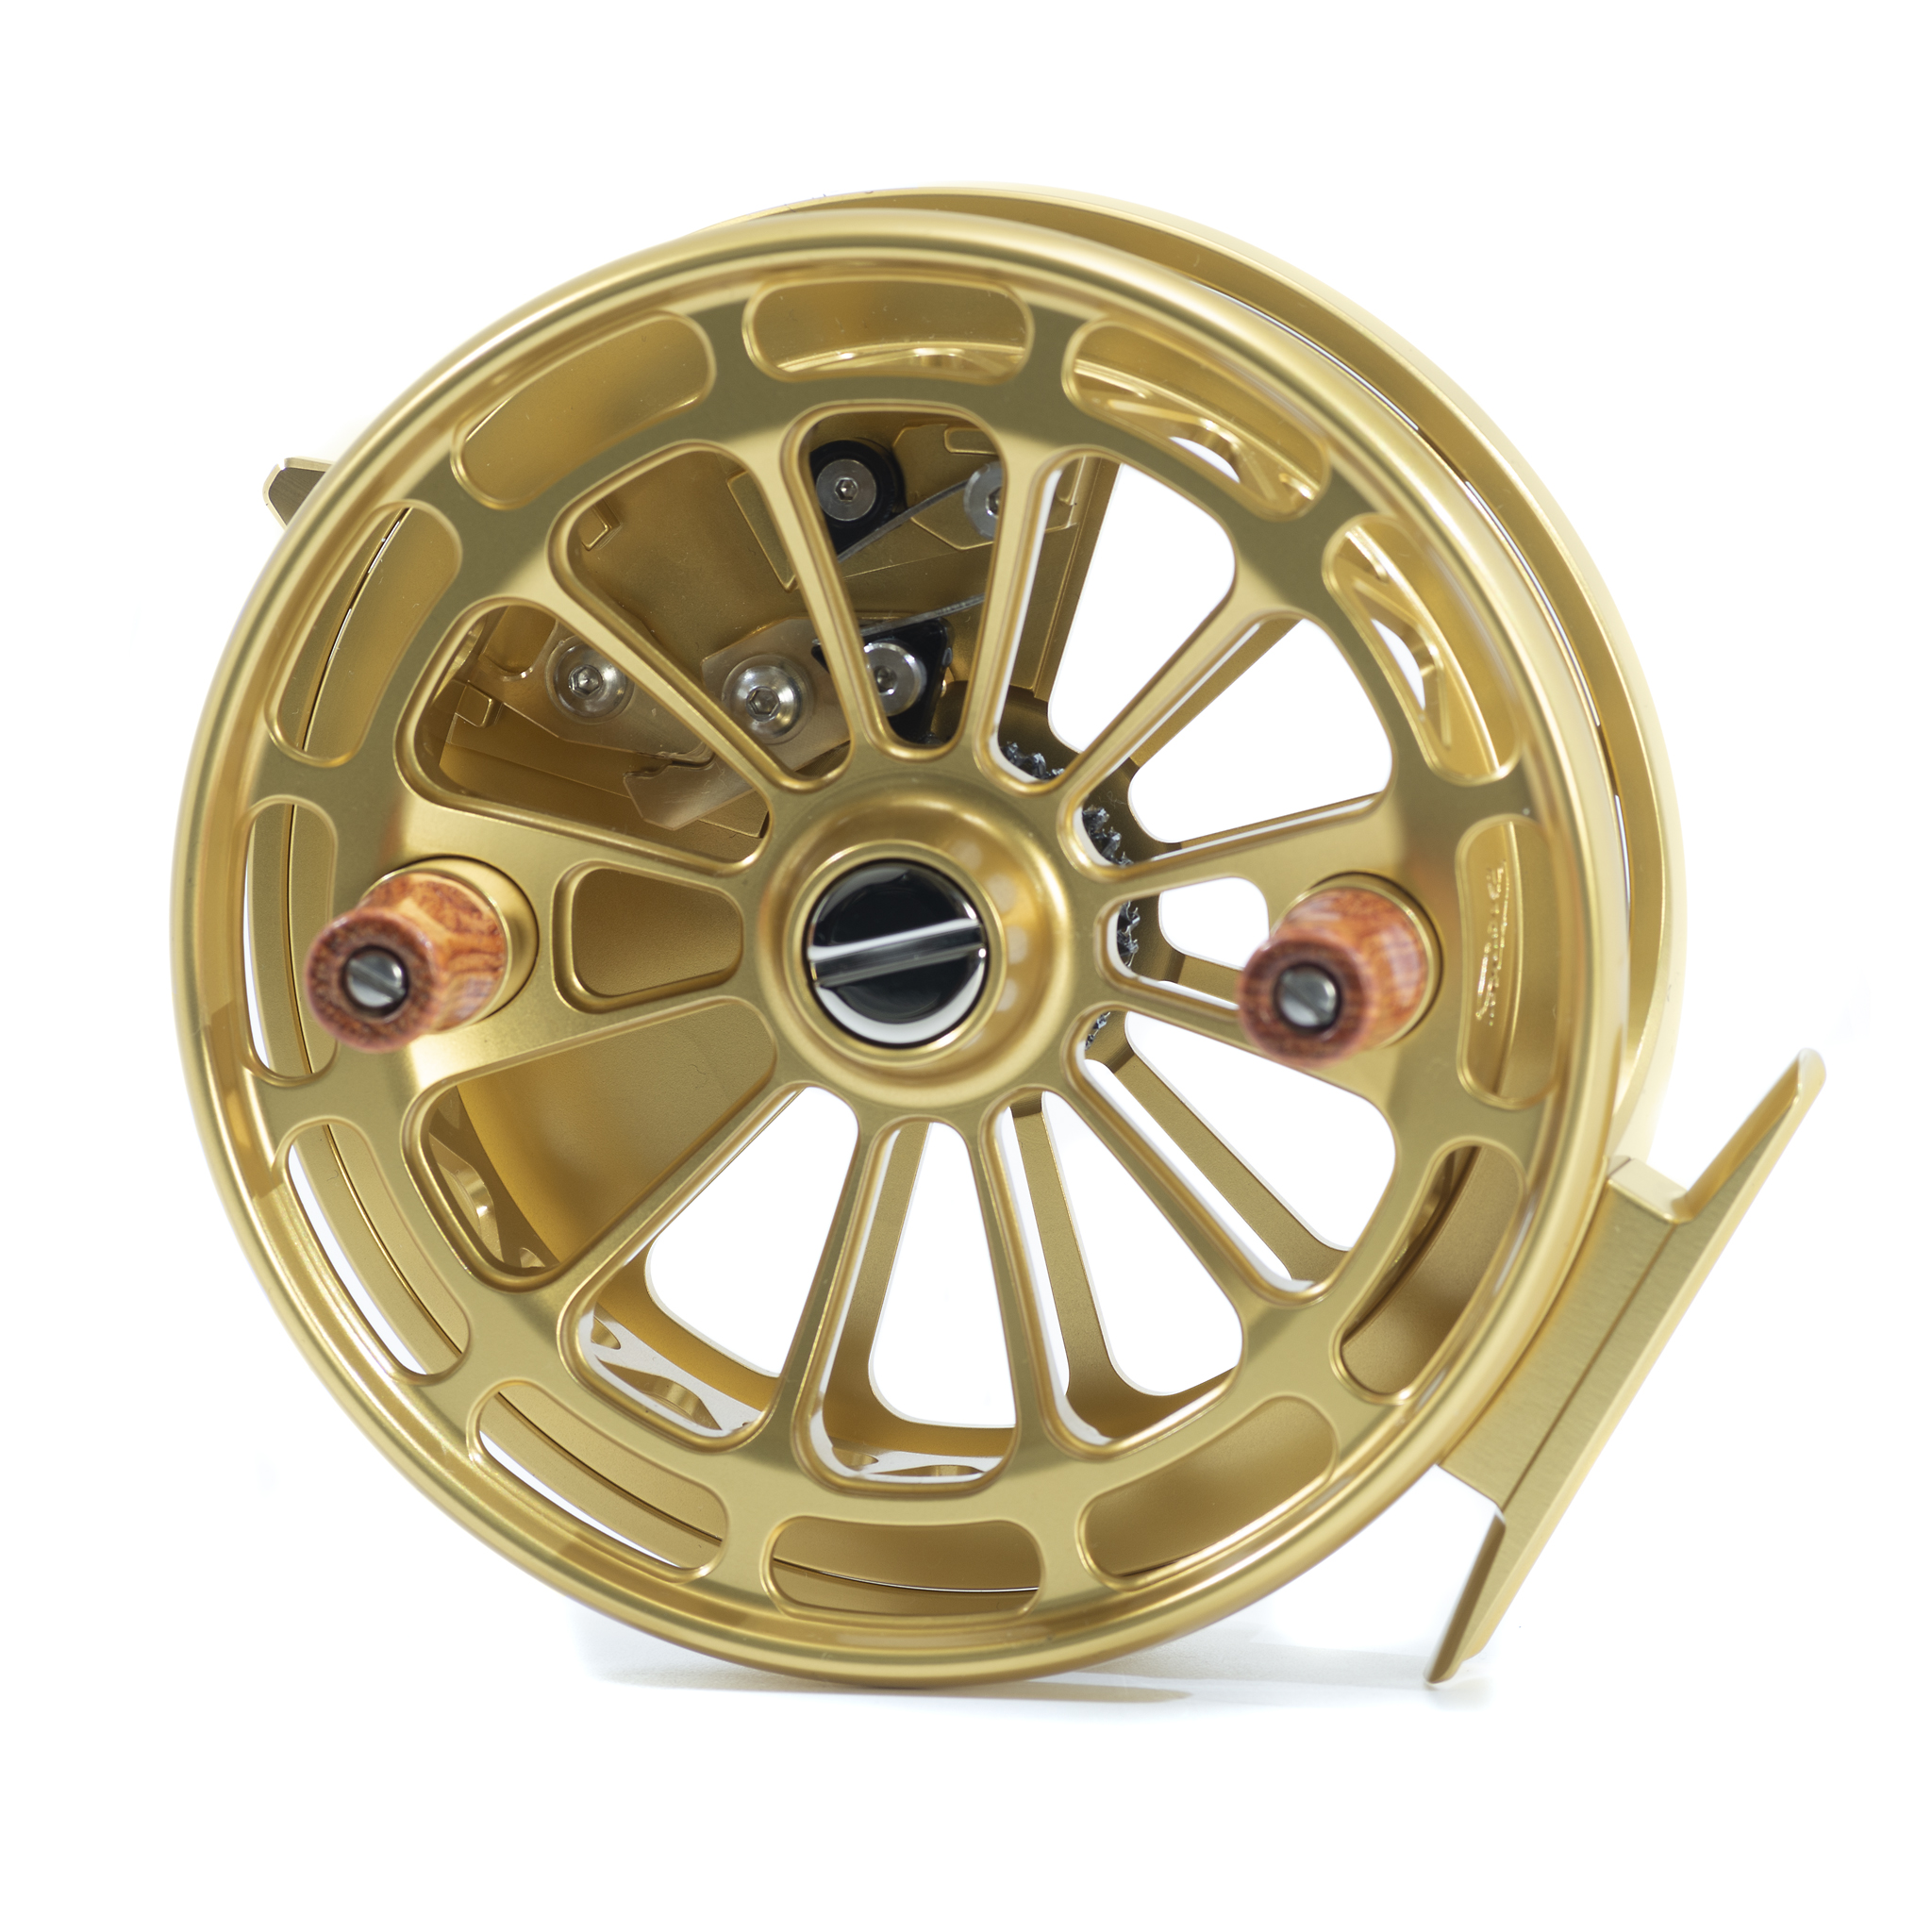
- Handles and Takedown: The handles are crafted from Micarta, a durable composite material that provides excellent grip, especially in cold and wet conditions. The reel is also designed for simple, tool-free takedown. A single screw cap on the backplate allows the user to remove the spool in seconds for cleaning, drying, and lubricating the spindle—a nod to the practical needs of the serious river angler.
Technical Specifications
| Feature | Specification | Technical Significance |
|---|---|---|
| Diameter | 5.0 inches | Maximizes line retrieval per turn and helps maintain rotational momentum. |
| Weight | 10.4 oz | Balanced for modern centerpin rods; light enough for all-day comfort. |
| Spool Type | Large Arbor, Ported | Reduces rotational mass for ultra-low startup inertia. |
| Bearings | 2x Shielded Stainless Steel (ABEC 3) | Provides the core of the frictionless, free-spool performance. |
| Construction | CNC Machined 6061-T6 Aluminum | Ensures maximum strength, perfect tolerances, and lifetime durability. |
| Finish | Type II Anodizing | Provides superior corrosion and scratch resistance. |
| Control System | Exposed Palming Rim | Offers infinite and direct drag modulation via the angler’s hand. |
Conclusion
The Islander C5 is the antithesis of a feature-laden, complex reel. Its brilliance lies in its fanatical dedication to perfecting the fundamentals. Every engineering choice, from the ABEC-rated bearings and the stainless steel spindle to the CNC-machined, low-mass spool, is singularly focused on achieving a perfect, frictionless rotation. It is an instrument built to translate the subtle language of the current directly to the angler’s hand, offering the ultimate in natural presentation and becoming a trusted, heirloom-quality partner for a lifetime on the river.